Game Console Re-Design
Initial Design
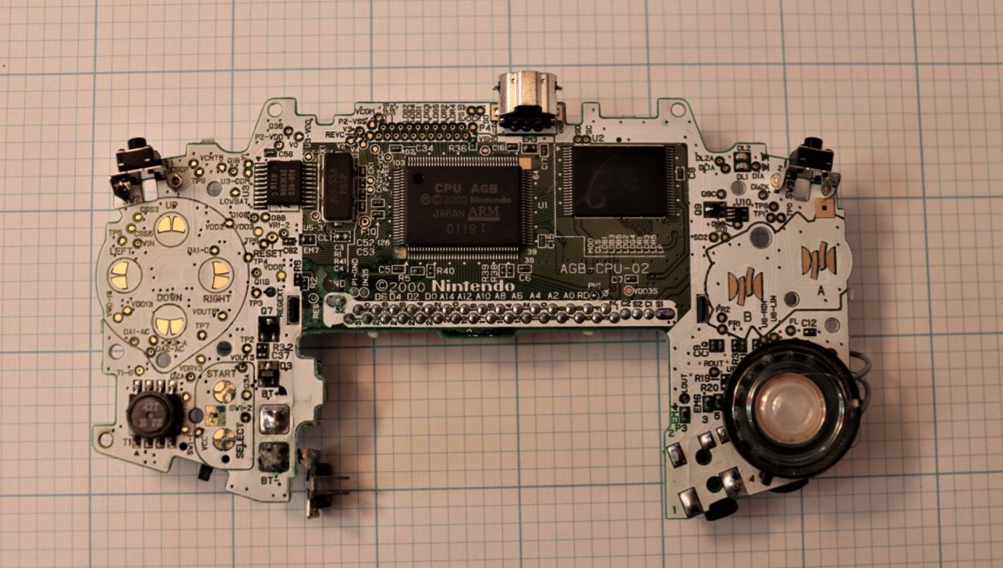
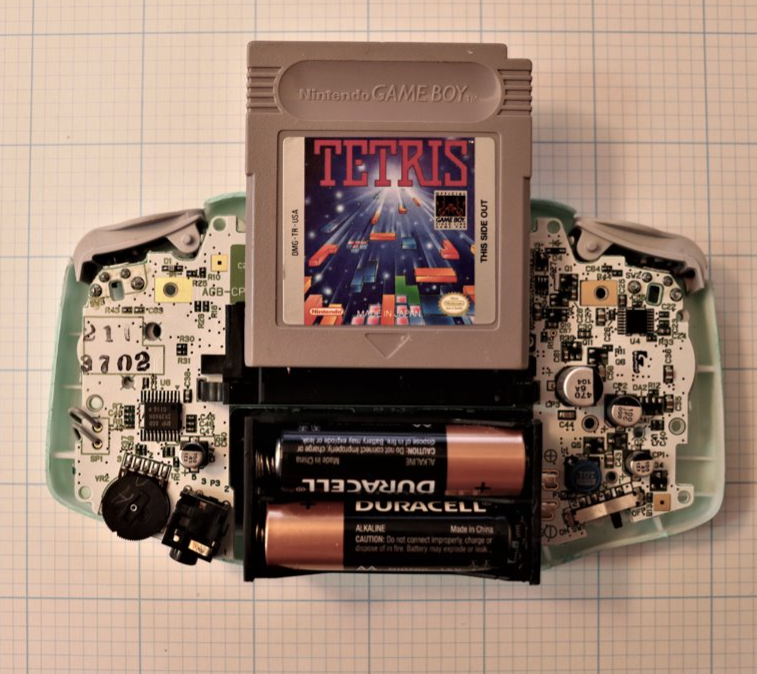
The project stared out with selecting an existing item that had electronic components, and reverse engineering it. The product I chose was the game boy advance. The outer casing was well fit around the electronics, so I didn’t have much room to make substantial changes to the shape of the casing, but I wanted to see if I could potentially make a case with a solid back and use a rechargeable battery pack instead of double As.
Electronic Components of the Gameboy
CAD Modeling
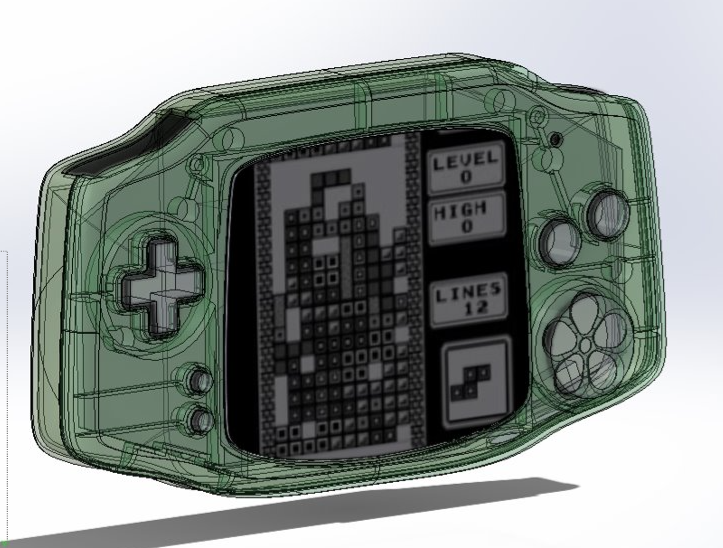
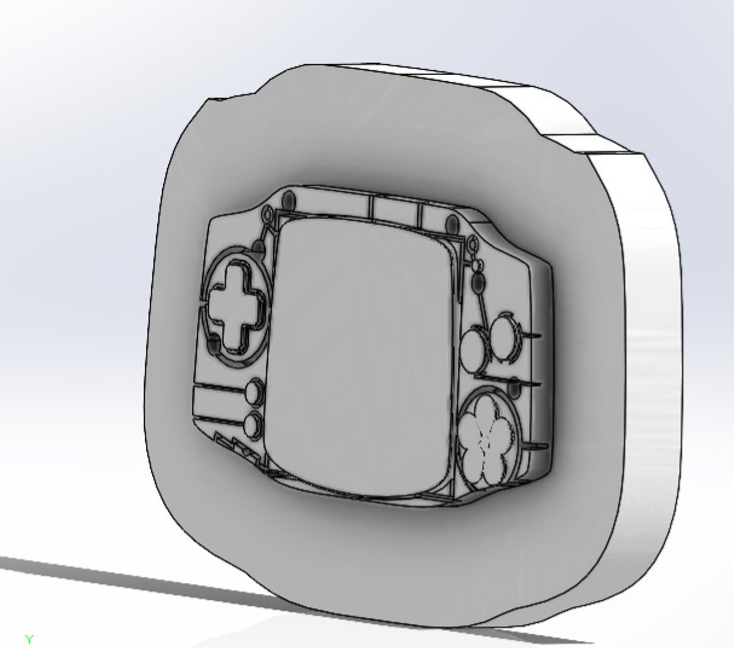
After taking dimensions for overall size, mounting holes, and slots for internal features, I used a series of surface lofts and boundary surfaces in SolidWorks to make the shape of the casing. From there I thickened the walls, added draft, and then split the part. I added mounting locations for the electronics, a lip and groove to snap the halves together, and ribs to improve the flow of the plastic for molding. I then used mold tools to create two molds, one for each half of the part. The part was then sent to protolabs to get a quote for a mold.
CAD Models
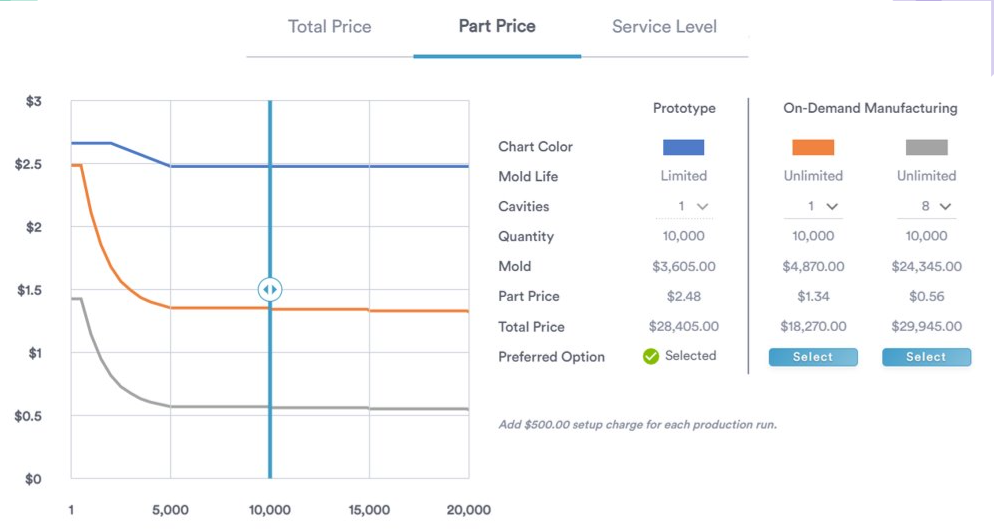
Protolabs Mold Quote
Final Assembly
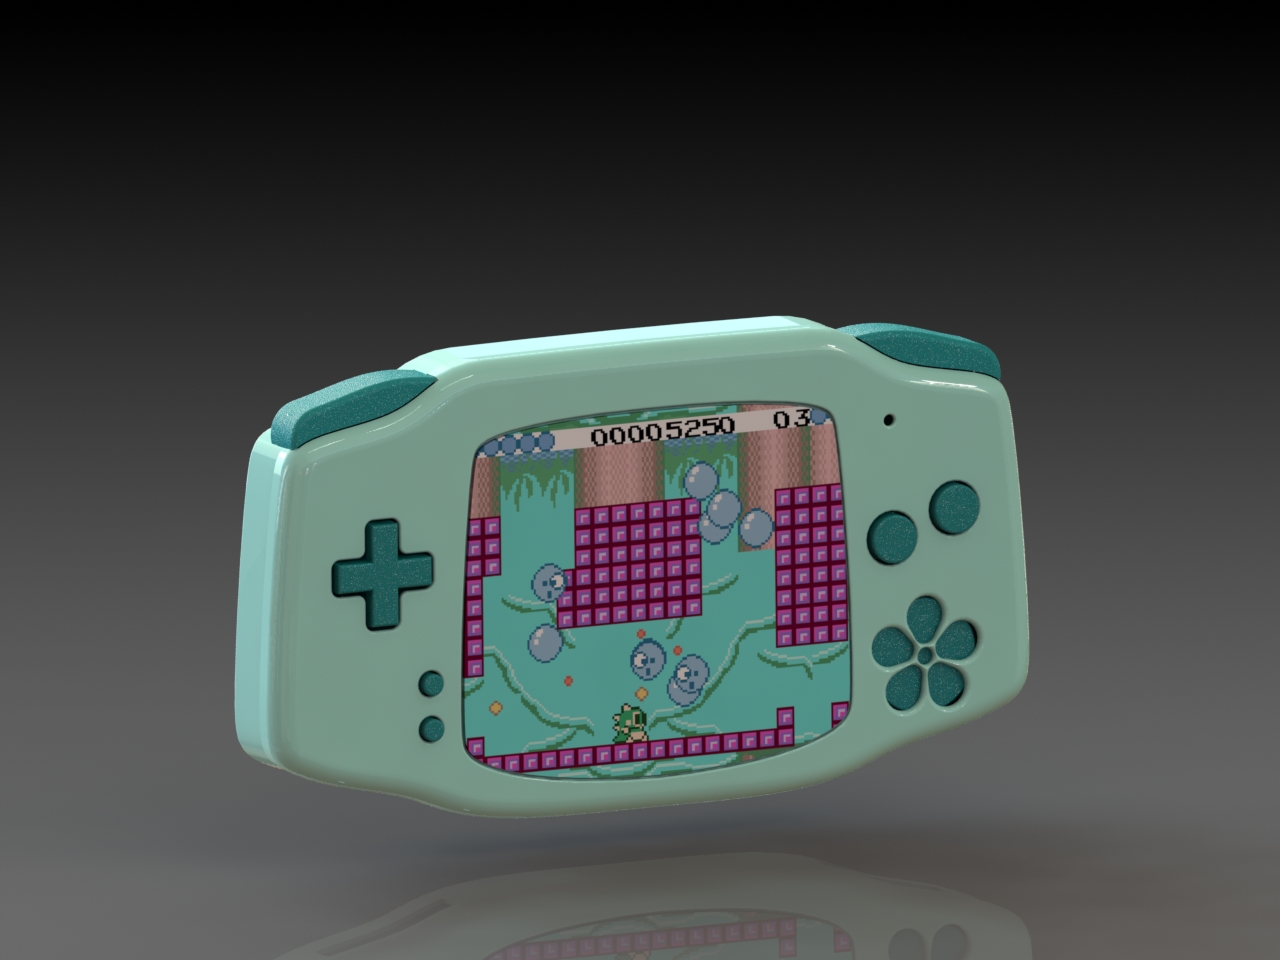
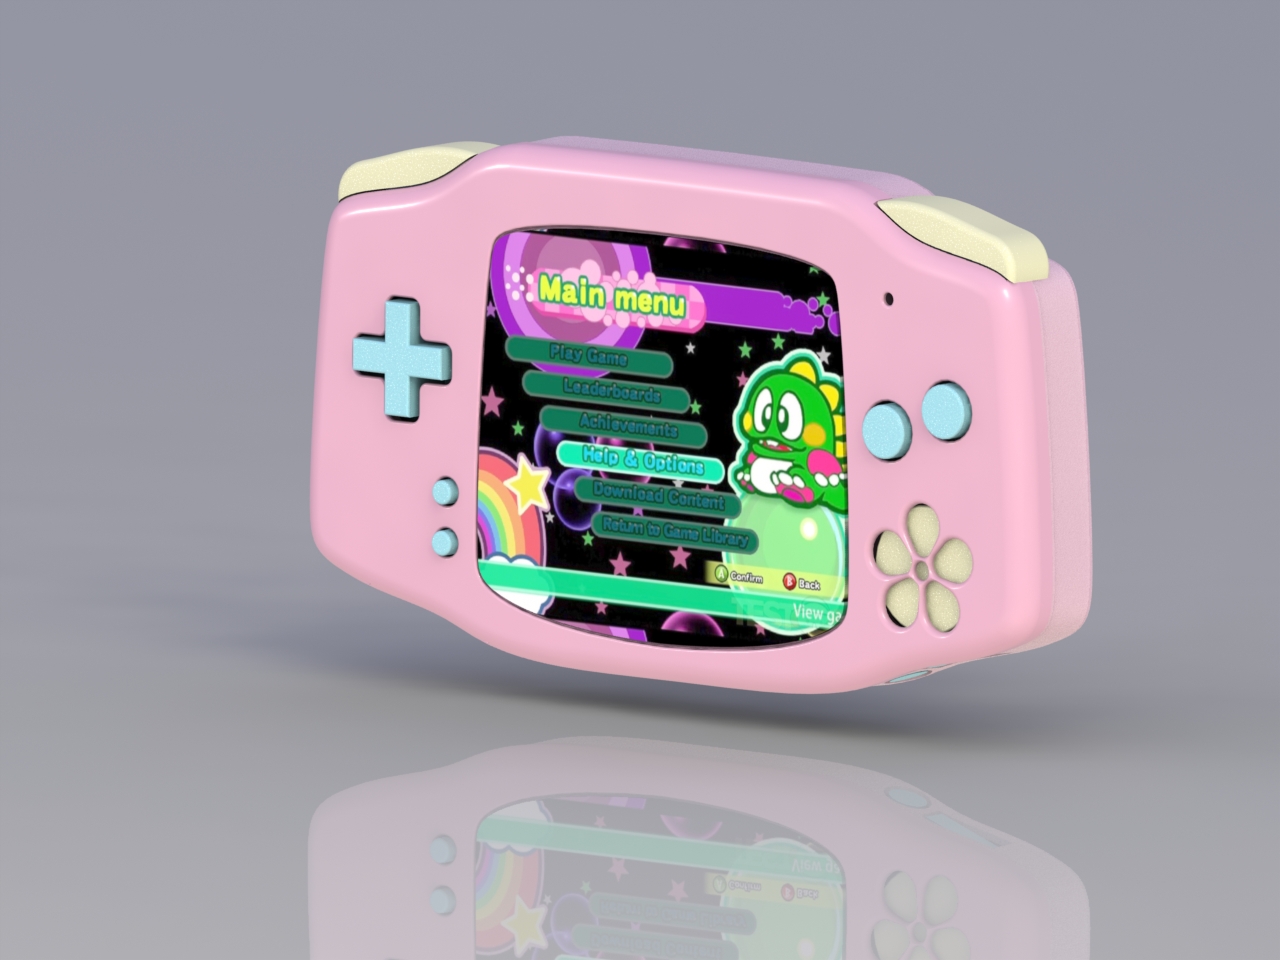
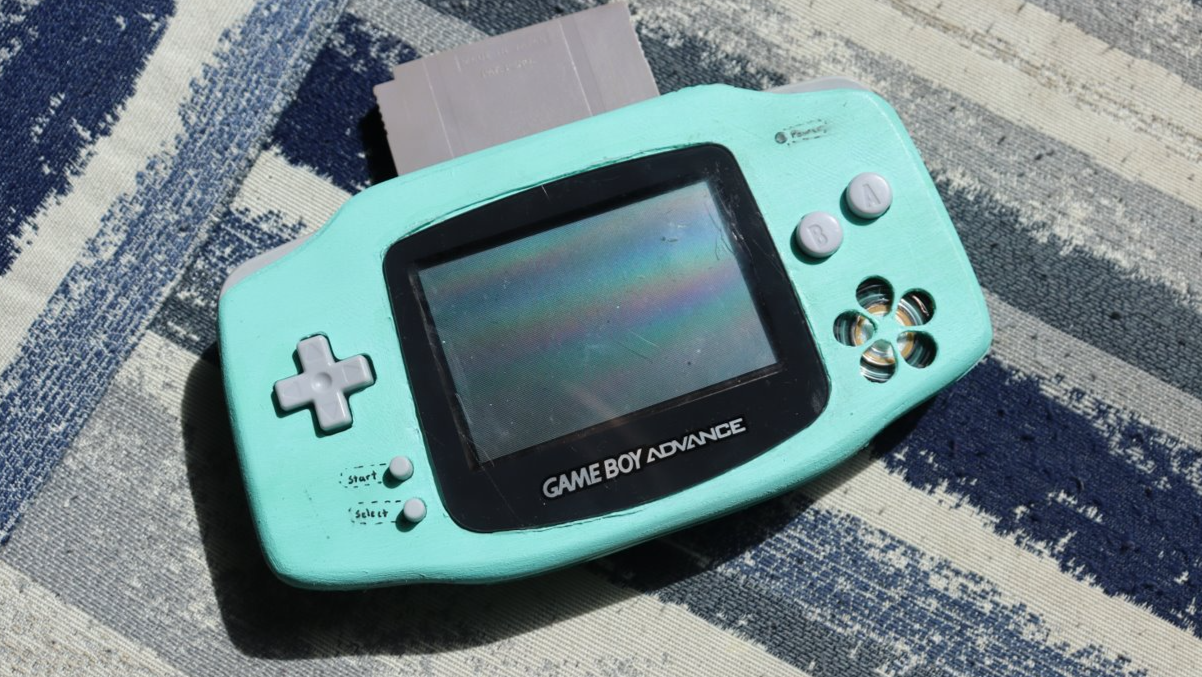
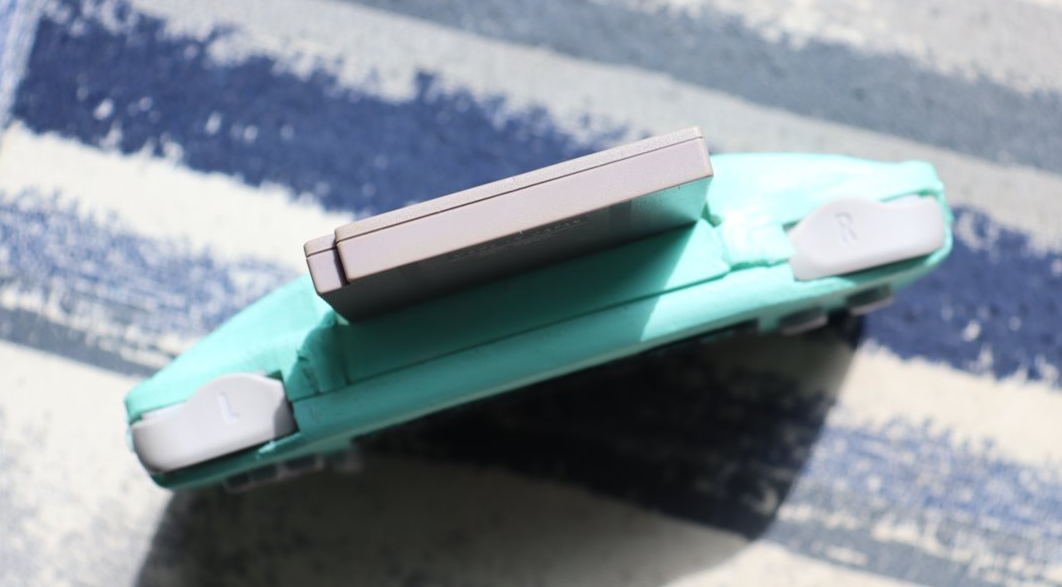
The parts were then produced using a FDM 3D printer. After removing support, sanding, and painting, the electrnoics were mounted inside and the halves were snap fit together. The CAD model was rendered, picking colour shemes using Adobe Color to utilize colour theory.
Final Assembly
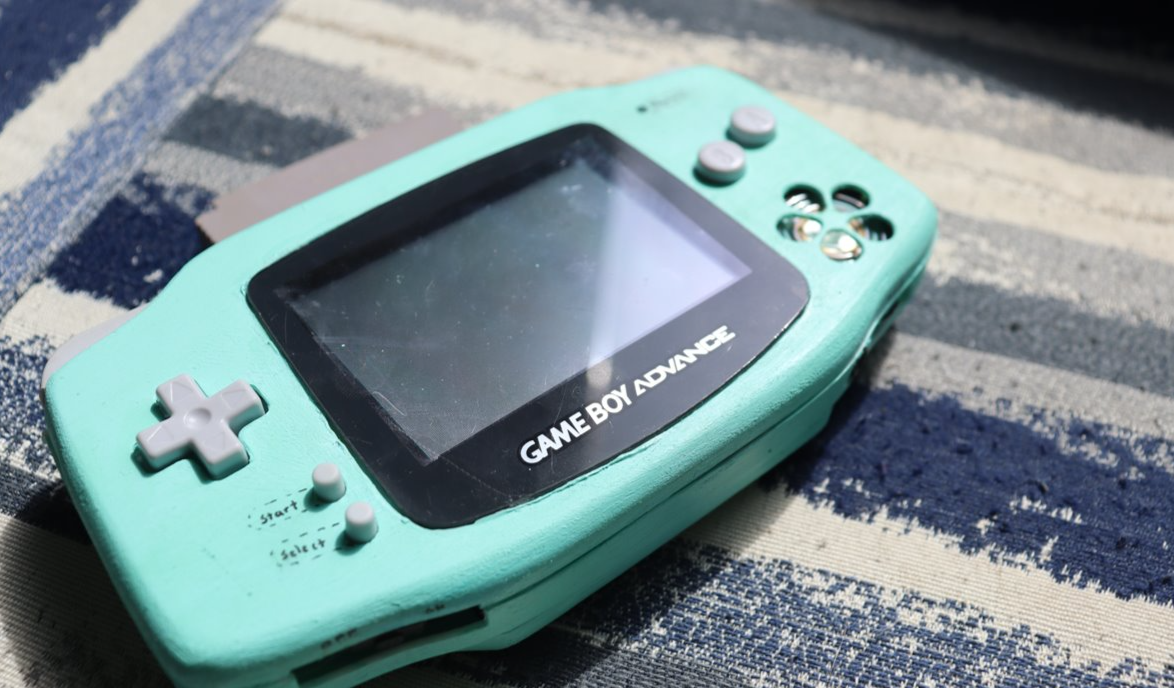
CAD Renders